Blisters are one of the most common problems hikers face, and nothing can ruin a beautiful trail faster than painful feet. Hiking with blisters is not only uncomfortable, but if not treated properly, it can turn into a bigger issue that cuts your adventure short. The good news is, with the right prevention techniques and on-trail strategies, you can keep your feet healthy and keep hiking strong.
What causes blisters when hiking?
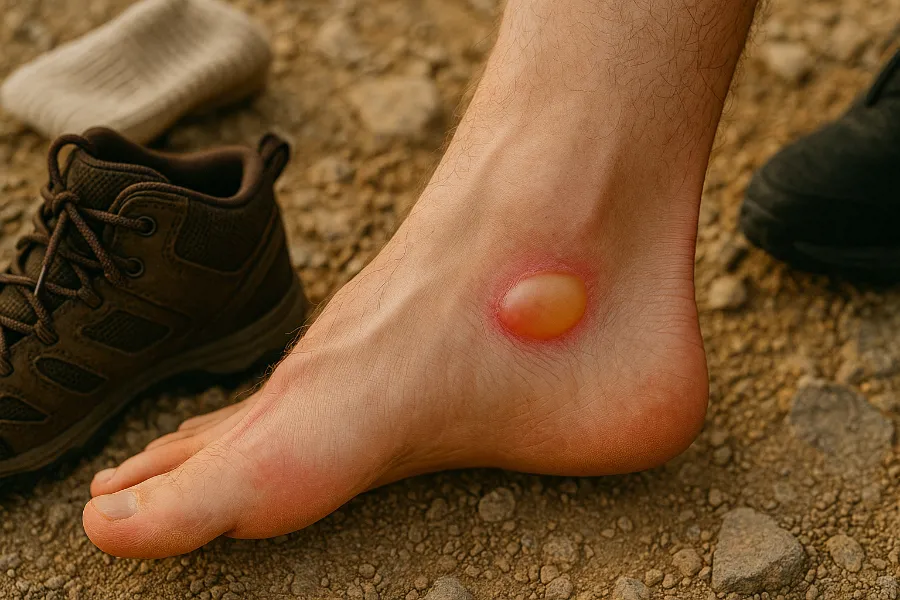
Blisters form when repeated friction, heat, and moisture cause the upper layer of skin to separate. Fluid fills the gap, creating the classic bubble we all dread. The most common hiking blister hotspots are the heels, toes, arches, and sides of the feet. Here are the main culprits:
- Friction: Shoes rubbing against the same spot on your skin.
- Pressure: Tight boots or wrinkles in socks.
- Moisture: Sweat or water softens skin, making it more vulnerable.
- Poor fit: Shoes that are too loose or too tight create problem areas.
Understanding these triggers is the first step toward preventing blisters.
How to prevent blisters before hitting the trail
Blister prevention begins long before you lace up for your hike.
- Get properly fitted footwear: Choose hiking boots or trail shoes that match your foot shape. Your heel should stay secure without slipping, and your toes should have wiggle room.
- Break in your boots: Don’t let your first hike be the first time you wear your new boots. Start with shorter walks and gradually increase distance.
- Pick the right socks: Avoid cotton. Instead, use wool or synthetic hiking socks that wick away moisture. Many hikers swear by liner socks under thicker socks.
- Keep feet dry: Pack an extra pair of socks and change when they get damp. Some hikers also use foot powder to reduce sweat.
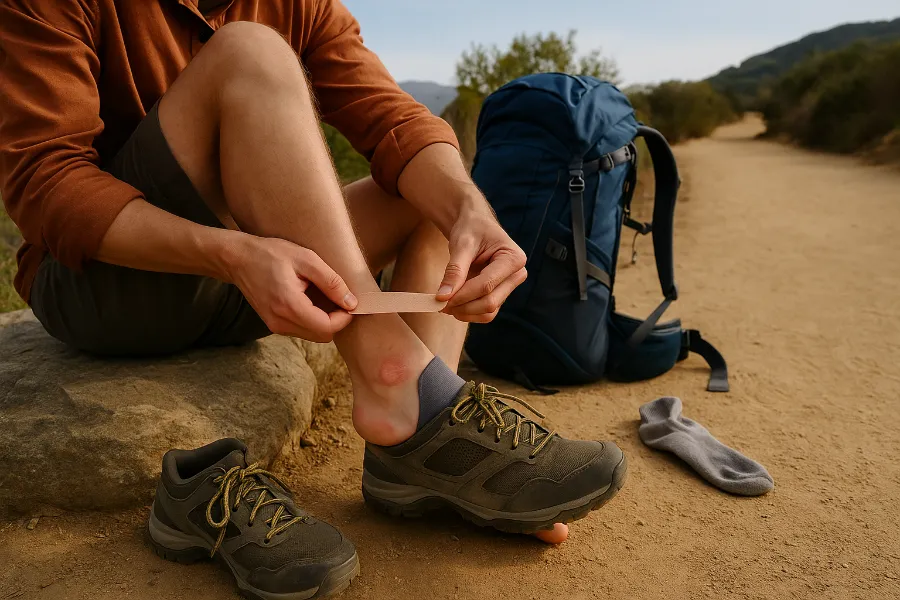
- Pre-tape prone spots: If you know where you usually get blisters, apply tape or moleskin before your hike starts.
Blister prevention strategies on the trail
Even with preparation, your feet need attention while hiking.
- Recognize hotspots quickly: A hotspot feels like burning or irritation. Stop immediately, remove your boot, dry the area, and apply protection before it becomes a blister.
- Adjust your laces: Loose laces allow your foot to slide, while overly tight laces cause pressure. Re-tie based on terrain: snug for downhill, looser for uphill.
- Air your feet during breaks: Take shoes and socks off, let feet dry, and reset before continuing.
- Use blister products: Gel pads, moleskin, and blister tape can reduce friction. Many thru-hikers also use Leukotape for long-lasting protection.
- Stay ahead of moisture: Change into dry socks once or twice a day on multi-day hikes.
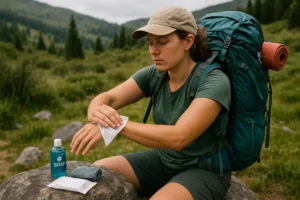
How to treat blisters while hiking
Sometimes prevention isn’t enough, and blisters happen. Knowing how to treat them can make the difference between continuing your hike or limping back to the trailhead.
- To pop or not to pop? In general, don’t pop unless the blister is too painful to walk on. The fluid protects the skin underneath. If you must drain it:
- Wash the area with soap or an alcohol wipe.
- Sterilize a needle with alcohol or flame.
- Pierce at the edge of the blister and gently press fluid out.
- Apply antibiotic ointment and cover with gauze or a bandage.
- Protect the area: Use molefoam with a “donut hole” cut out, so the blister sits in the center without more friction.
- Cover with blister pads: Hydrocolloid bandages (like Compeed) cushion, protect, and speed healing.
- Monitor for infection: Watch for redness, swelling, pus, or streaks leading away from the blister. If these appear, stop hiking and seek medical help.
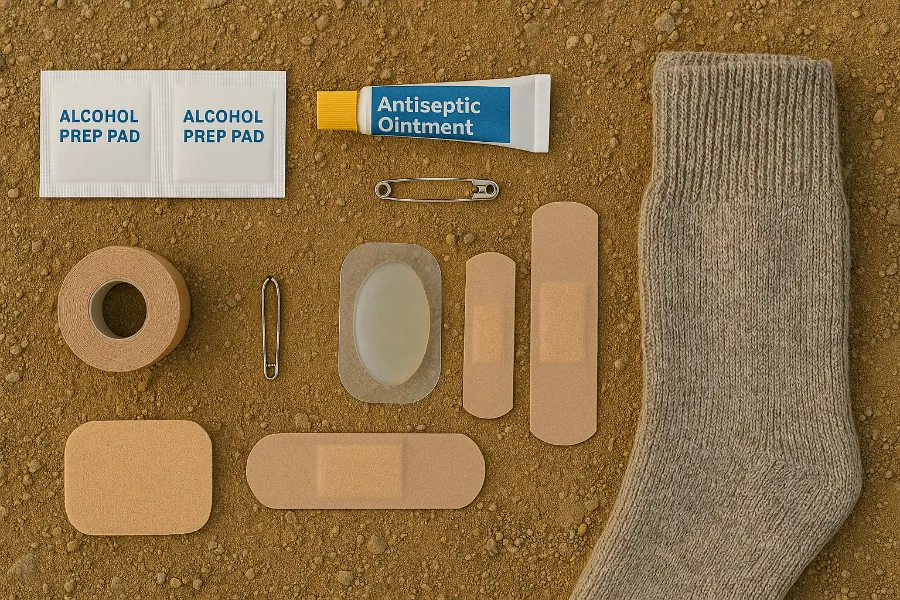
Blister first-aid kit essentials
Every hiker should carry a lightweight blister kit. Essentials include:
- Alcohol wipes
- Antiseptic ointment (like Neosporin)
- Safety pin or needle
- Leukotape or KT tape
- Moleskin or molefoam
- Gel blister pads
- Bandages in various sizes
- Extra socks
Packing these small items can save a hike.
Long-distance and thru-hiking with blisters
Blisters are especially common on long-distance treks like the Appalachian Trail or John Muir Trail. The first few days are the riskiest, as your feet adjust to mileage and pack weight. Strategies include:
- Pre-taping problem spots before each hike
- Rotating multiple pairs of socks to always have a dry pair
- Allowing time for nightly foot care: soak, massage, and let blisters air out while resting
- Managing shoe swelling: feet often swell on long hikes, so some hikers size up half a size in footwear
If you can make it past the first few days with minimal damage, your feet often toughen up, reducing blister risk later.
Final tips for hiking with blisters
- Don’t ignore discomfort: Small hotspots quickly turn into big blisters if untreated.
- Know when to stop: Sometimes the best choice is to rest, dry your feet, and recover before pushing forward.
- Seek help if infection sets in: Never risk your health on the trail.
- Recover after the hike: Soak feet in warm water with Epsom salts, keep blisters clean, and let them heal fully before your next hike.
Blisters may be a hiker’s most dreaded nuisance, but they don’t have to end your adventure. With the right prevention, quick response to hotspots, and smart on-trail treatment, hiking with blisters can be managed. Take care of your feet, and they’ll carry you farther and happier on every trail.