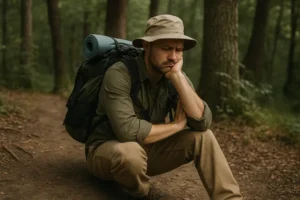
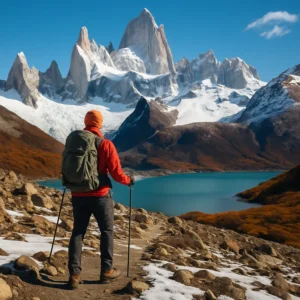
If you’ve ever wondered how to carry camera while hiking without breaking your back or missing that perfect shot, you’re not alone. The challenge is real. Hiking trails are unpredictable, weather changes fast, and your camera gear is often both fragile and heavy. The key lies in balancing protection, comfort, and accessibility. After all, a camera that’s too hard to reach will stay in your pack—and those breathtaking mountain views will go undocumented.
Protecting and Storing Your Camera
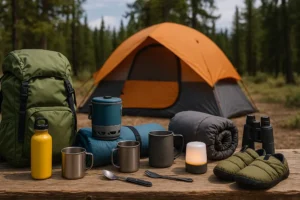
Before we dive into straps, clips, or fancy backpacks, let’s start with protection. Hiking trails can be dusty, muddy, wet, and downright brutal on sensitive electronics. A good storage system keeps your gear safe without making it a chore to use.
- Padded Inserts: Camera inserts like the Tenba BYOB fit neatly inside regular hiking backpacks, turning them into makeshift camera bags. These protect your camera from bumps and scratches.
- Neoprene Cases: Lightweight and form-fitting, neoprene cases wrap around your camera body and lens. They’re especially handy if you like keeping gear inside a regular pack.
- Dry Bags: For hikers who face rain, river crossings, or snow, a waterproof dry bag is an excellent addition. Just remember that while dry bags protect from water, they don’t offer much impact protection.
Camera Straps and Clips
Accessibility is everything. A shot can be gone in seconds if your camera’s buried deep inside your backpack.
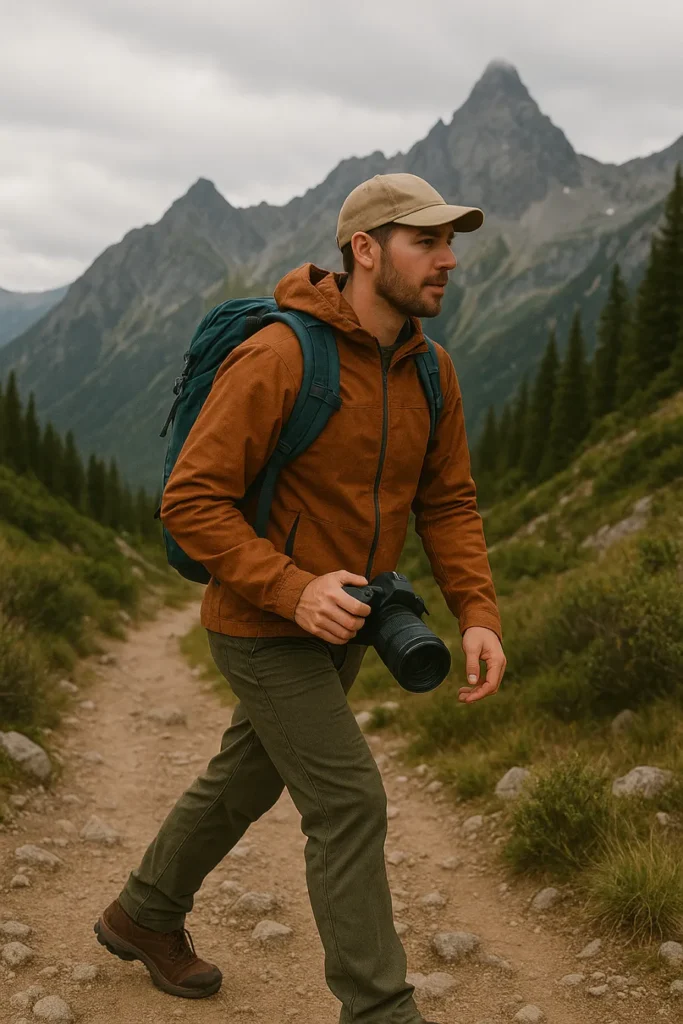
- Backpack-Mounted Straps: These straps attach to your shoulder harness and distribute weight across your chest and shoulders, easing strain on your neck.
- Peak Design Capture Clip: This is a favorite among hikers. It attaches directly to your backpack strap, holding your camera securely but giving you instant access. The downside? Your camera is exposed to rain and dirt.
- Think Tank Support Straps: These allow you to offload weight from your neck by redistributing it across your shoulders and chest. It’s a relief on long hikes.
Camera Bags and Backpacks
A camera-specific hiking backpack can be a game-changer if you often carry more than just one camera body and lens.
- Dedicated Hiking Camera Backpacks: Models like the Think Tank Rotation or Deuter Rise are designed for photographers. They feature padded compartments, quick side or back access, and balanced weight distribution.
- Regular Backpacks with Inserts: If you already own a solid hiking pack, using inserts or pods may be more budget-friendly. It gives you flexibility and keeps the bag multipurpose.
The trade-off comes down to convenience: a dedicated pack is optimized for photography, while inserts let you travel lighter and cheaper.
Alternative Carrying Methods
Sometimes the classic backpack or strap system isn’t the best fit. Alternative solutions exist—and they can be surprisingly effective.
- Camera Pods: The Hyperlite Mountain Gear Camera Pod is weatherproof and allows quick access while protecting gear from rain and snow. But it adds bulk to your setup.
- Fanny Packs: A fanny pack worn on the front provides balance, quick access, and comfort. The downside is limited space and minimal weatherproofing.
- Inside Your Backpack: The simplest method—just stowing the camera inside your main pack. It’s secure and budget-friendly but inconvenient when you want to capture spontaneous shots.
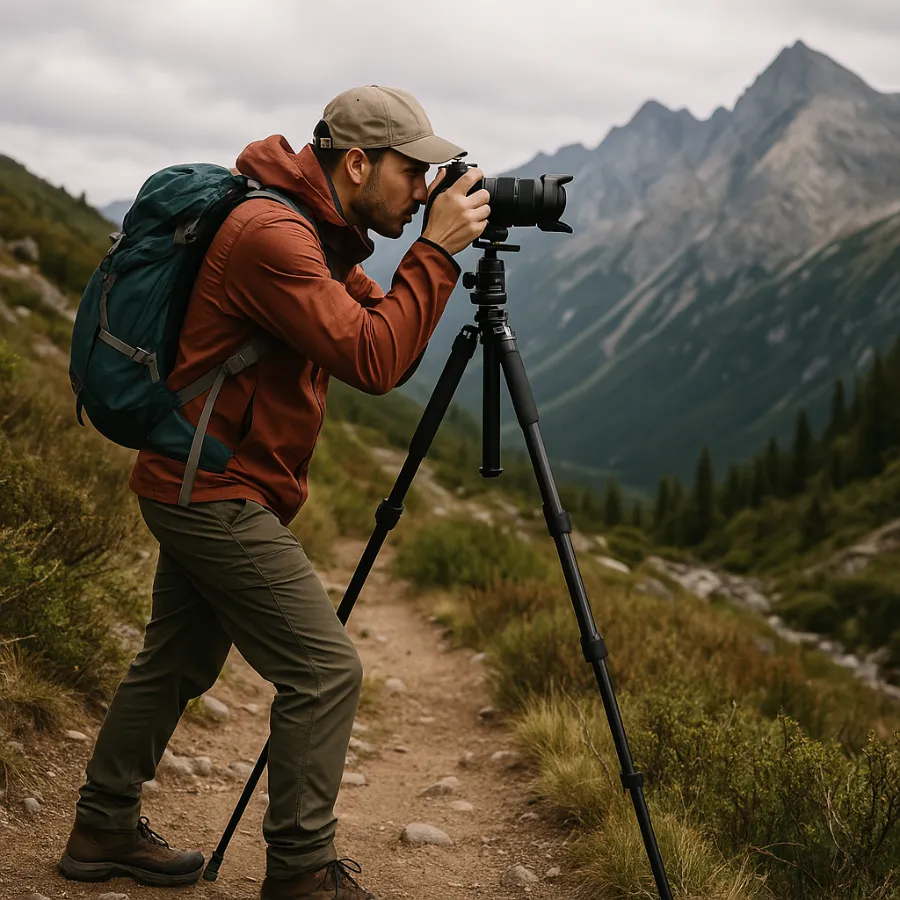
Tripods and Accessories
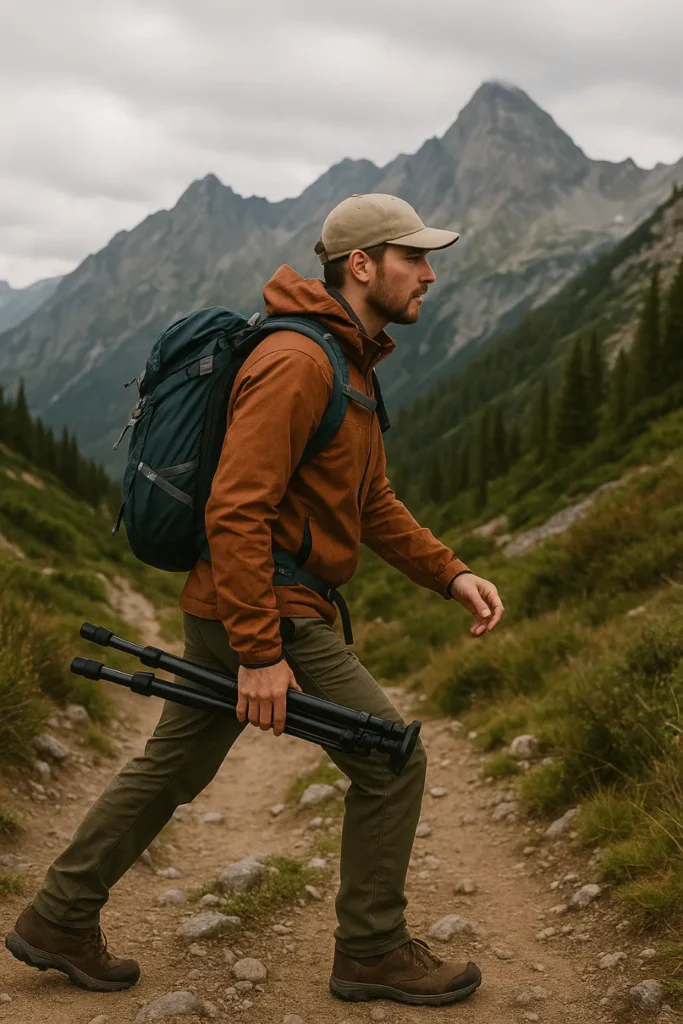
A tripod is often the heaviest accessory you’ll bring. Ask yourself: do you really need it for this hike?
- Ultralight Tripods: Perfect for day hikes and casual landscape shots. They’re compact and won’t weigh you down.
- Full-Size Tripods: Essential for night photography, long exposures, or serious landscape work. Best for shorter hikes or when photography is your main goal.
- Extra Protection: Don’t forget waterproof covers for sudden rain showers, and always pack spare batteries (cold weather drains them faster).
Choosing the Right Method for You
So, what’s the “best” way to carry your camera while hiking? The truth is, it depends on your style and priorities.
| Method | Protection | Accessibility | Comfort | Cost |
|---|---|---|---|---|
| Backpack with Inserts | High | Low | High | Low |
| Peak Design Capture Clip | Low | Very High | Medium | Medium |
| Dedicated Camera Backpack | High | Medium-High | High | High |
| Fanny Pack | Medium | High | Medium | Low |
| Camera Pod (e.g., Hyperlite) | High | High | Medium | Medium |
For beginners, starting with inserts in your existing pack keeps things simple. As you get more serious, investing in a Capture Clip or camera-specific backpack pays off.
Tips for Better Hiking Photography
- Carry minimal gear: Stick to one or two versatile lenses.
- Protect batteries: Keep them close to your body in cold weather.
- Know when to stash your camera: Sometimes the best decision is to keep your camera tucked away when the terrain gets rough or the weather turns nasty.
Conclusion
Learning how to carry camera while hiking is about finding balance. You need to protect your gear, keep it comfortable to carry, and ensure it’s accessible enough that you actually use it. The perfect setup will be different for every photographer. Test out straps, clips, backpacks, and inserts until you discover the method that keeps you hiking happily while capturing every shot you want.