If there’s one piece of gear I never head into the backcountry without, it’s a reliable water filter. Backpacking can push your body to its limits, and staying hydrated is non-negotiable. But the streams, lakes, and ponds you pass along the way aren’t always as pristine as they look. Hidden bacteria, parasites, or viruses can knock you out for days—or even weeks. That’s why water filter backpacking is more than just a gear choice; it’s a safety decision.

In this guide, I’ll break down the types of water treatment available, what to consider when choosing a system, and how to use them in real backcountry conditions. By the end, you’ll know how to make water treatment decisions with confidence, whether you’re planning an overnight hike or a multi-week thru-hike.
Why You Need a Water Filter for Backpacking
Even in the most remote mountains, water sources can carry harmful microorganisms. Common culprits include:
- Giardia – a parasite that causes severe digestive issues.
- Cryptosporidium – another stomach-wrecking protozoan, resistant to some treatments.
- Bacteria – like E. coli or salmonella from animal waste.
- Viruses – rare in North America but a real concern overseas.
Drinking untreated water might not make you sick every time, but when it does, you’ll wish you’d taken precautions. A reliable backpacking water filter ensures peace of mind so you can focus on the trail.
Types of Backpacking Water Treatment
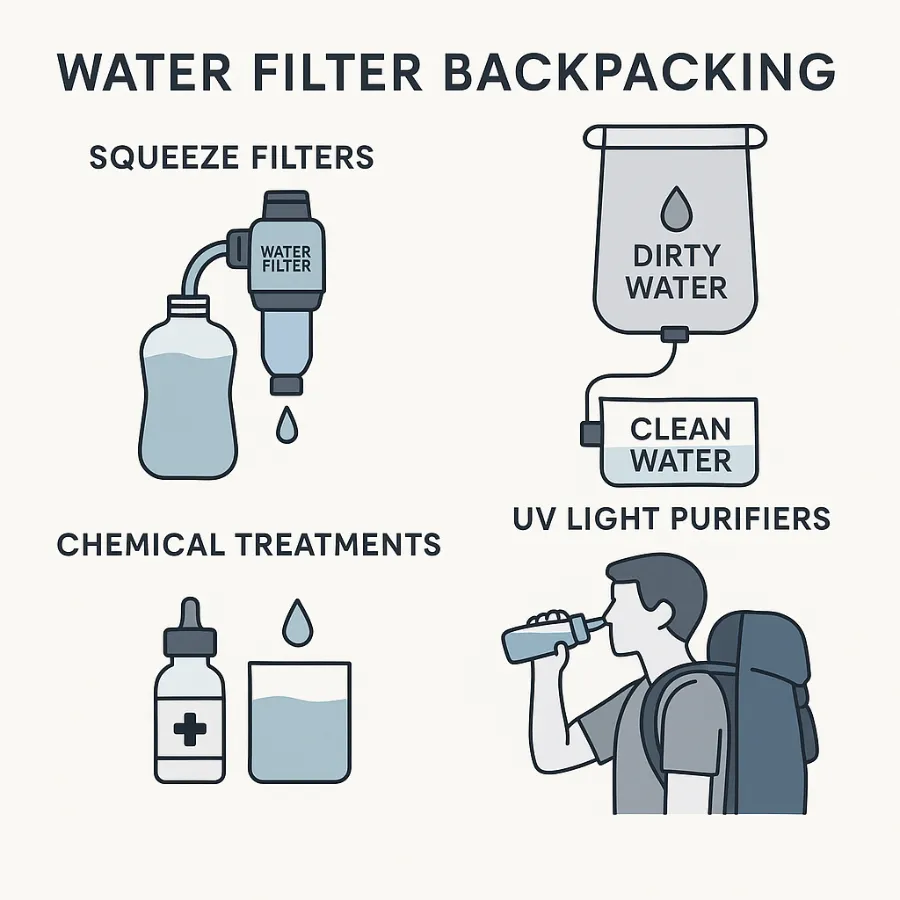
Backpackers today have more options than ever before. Each method comes with trade-offs in weight, speed, reliability, and effectiveness. Let’s walk through the main categories.
Squeeze Filters
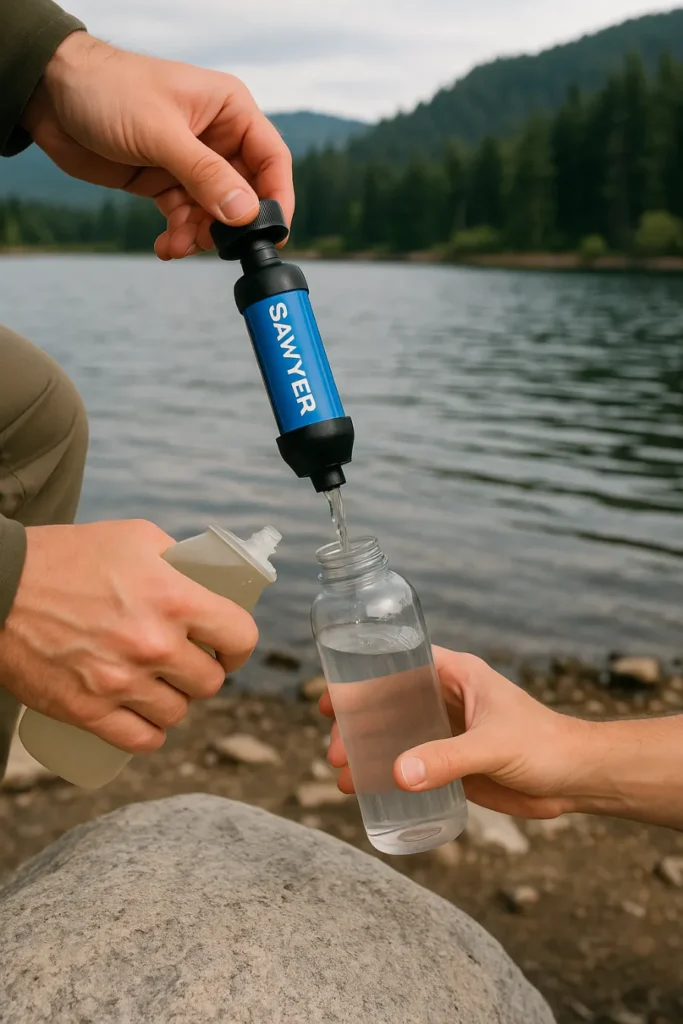
Squeeze filters use hollow fiber membranes to physically block bacteria and protozoa. Popular models like the Sawyer Squeeze and Katadyn BeFree are lightweight, affordable, and easy to use. Just fill a bottle or pouch, screw on the filter, and squeeze clean water into another container—or drink straight from the source.
Pros:
- Ultralight and compact.
- Immediate access to drinkable water.
- Inexpensive compared to pumps.
Cons:
- Can clog in silty water.
- Require occasional backflushing or cleaning.
- Vulnerable to freezing (damages the fibers).
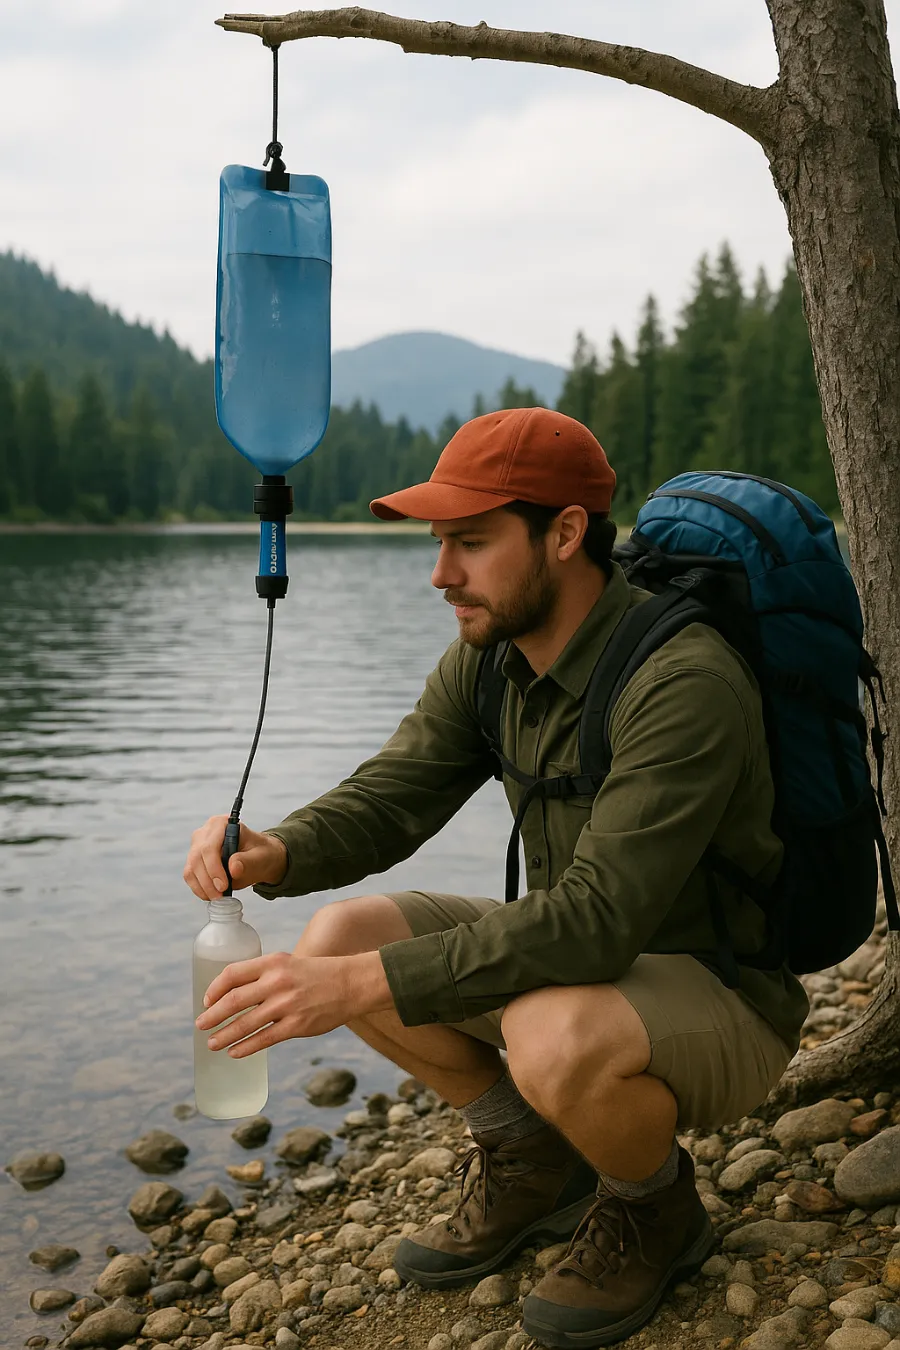
Gravity Filters
Best for groups, gravity systems like the Platypus GravityWorks allow you to fill a “dirty” bag, hang it above a “clean” bag, and let gravity do the work. They filter larger volumes without hand pumping.
Pros:
- Great for filtering liters at once.
- Low effort—gravity does the work.
- Ideal for group backpacking.
Cons:
- Bulkier than squeeze filters.
- Slower than pumps for single-person use.
Pump Filters
Classic pump designs like the MSR Guardian or Katadyn Hiker are robust and can handle murky water. They filter by manually pumping water through a cartridge, often with activated carbon for taste improvement.
Pros:
- Effective in shallow or silty sources.
- Durable and long-lasting.
- Some models (like Guardian) remove viruses.
Cons:
- Heavier and more expensive.
- Require manual effort every time.
Chemical Treatments
Chemical drops or tablets (such as Aquamira or Katadyn Micropur) use chlorine dioxide to kill bacteria, protozoa, and even viruses. They’re ultralight and make an excellent backup option.
Pros:
- Lightweight and packable.
- Kill viruses that filters can’t.
- No risk of freezing damage.
Cons:
- Wait time (15–30 minutes minimum, up to 4 hours for cryptosporidium).
- Leave a chemical taste for some users.
- Don’t remove dirt or debris.
UV Light Purifiers
Devices like the Katadyn Steripen Ultra use ultraviolet light to sterilize microorganisms. Quick, effective, and easy to use, but only work in clear water.
Pros:
- Kills bacteria, protozoa, and viruses.
- Fast—about 90 seconds per liter.
- Lightweight and simple to use.
Cons:
- Ineffective in cloudy water.
- Dependent on batteries or charging.
- More expensive than most options.
Boiling Water
The oldest trick in the book—boiling water for at least one minute (three minutes above 6,500 ft). Reliable, but impractical as a main method.
Pros:
- 100% effective against all pathogens.
- Works even if gear fails.
Cons:
- Consumes stove fuel.
- Time-consuming.
- Hot water needs to cool before drinking.
Key Considerations When Choosing a Water Filter
When selecting the right backpacking water filter, think beyond just weight. Your environment, trip length, and group size all play a role.
- Weight & Packability – Ultralight thru-hikers often choose squeeze filters or chemical treatments. Groups may justify the extra weight of a gravity system.
- Flow Rate & Treatment Time – If you want water on demand, avoid chemical treatments. If you’re filtering for four people, a squeeze filter may feel slow.
- Maintenance & Longevity – Some filters require frequent cleaning, while others (like UV purifiers) need battery charging. Consider how much upkeep you’re willing to do.
- Water Quality – Murky or silty water clogs filters quickly. Chemical treatments and pump filters handle these conditions better.
- Cold Weather – Hollow fiber filters can crack if they freeze. If you expect sub-freezing temps, sleep with your filter inside your sleeping bag or pack chemical drops as backup.
- Cost – Prices range from $15 (chemical tablets) to nearly $400 (MSR Guardian). Decide whether you value budget, speed, or long-term reliability.
Matching Filters to Backpacking Scenarios
- Solo Overnight Trips – A lightweight squeeze filter like the Katadyn BeFree keeps things simple.
- Thru-Hiking – Sawyer Squeeze or Micro Squeeze offer longevity and versatility with bottles. Carry Aquamira as a backup.
- Group Backpacking – Gravity filters like Platypus GravityWorks save effort when supplying multiple hikers.
- International Travel – Viruses are more of a concern abroad; the MSR Guardian or Steripen Ultra are better choices.
- Ultralight Adventures – Chlorine dioxide tablets are unbeatable in terms of weight, though you’ll need patience.
Tips for Safe Hydration in the Backcountry
Even the best water filter for backpacking won’t protect you if you use it incorrectly. Keep these practices in mind:
- Choose the best source – Look for clear, flowing water over stagnant ponds. Avoid areas with livestock or heavy human use.
- Pre-filter murky water – Use a bandana, coffee filter, or pantyhose to strain out debris before filtering.
- Prevent cross-contamination – Keep the “clean” end of your filter separate from untreated water.
- Store carefully in cold weather – Sleep with your filter in your bag below freezing.
- Carry a backup method – Tablets or drops weigh almost nothing and can save your trip if your filter fails.
- Practice hygiene – Many “waterborne” illnesses are actually from dirty hands. Pack hand sanitizer and use it before meals.
Final Thoughts on Water Filter Backpacking
Water treatment isn’t the most glamorous gear topic, but it’s one of the most critical. Choosing the right backpacking water filter means balancing speed, weight, and reliability against the demands of your trip. My rule of thumb? Always carry a filter or purifier that suits your environment, and always pack a backup.
With the right system in place, you’ll not only stay safe but also enjoy the best luxury the backcountry can offer—cold, clear water after a long day on the trail.